Building a great photoshoot takes time, and can sometimes feel like a daunting task. What goes into photoshoot planning, and how are fantastic food photos made?
For us here at Food Photo Studio, we begin to plan and organize at least 4 weeks before the shoot day. That prep work allows us to capture photos and videos that bring your food photos to life.
So how to do a professional photo shoot right? Let’s break down the month leading up to the shoot, detailing it week by week.
4 Weeks to Shoot Day
Hold a preproduction (“prepro”) call.
We meet with clients to talk through their ideas and goals, and give them a realistic estimate of how long it will take. (If you are a new client, we may have you fill out an intake form to get a better sense of what you’re looking for before setting up this first call.) During this call, we will look at the calendar and propose a range of dates for your photo shoot.
Create a shot list.
The shot list guides us in making every other decision that follows. It’s like planning a wedding: It helps to have the venue first before saying yes to the dress and choosing your flowers. Outlining when, where, and what we will be shooting that day (motion or stills, packaging, social media, and website?) helps us precisely plan the weeks ahead.
Book the food stylist.
This is a crucial part of photo shoot planning. You want to be sure the stylist is suited for your particular job and will give you the look you’re going for. This isn’t limited to food shoots: For example, if we were photographing sweatshirts, we would choose a soft goods stylist. During this step, we may recommend that you “ice” the stylist, which is like issuing them a “hold” for that particular shoot day.

3 Weeks to Shoot Day
Refine shot list into needs and wants.
Next we break down the shot list into two categories: needs and wants. A lot of agency clients will do this naturally, because they understand how important it is to get a specific shot for a particular purpose.
Typical examples for a “want list” category include:
Capturing extra shots in a different set or from a different angle
Pulling some B-roll video
Gif building after we get the main shot done
Ingredient or prep photos
We always encourage our clients to get the most out of their set up - you’re paying for the stylist and studio time, so let’s generate as much visual content from it as we possibly can!
However, it’s important that requests of needs vs. wants are shared with us prior to shoot day. Knowing ahead of time allows us to prepare the crew we need to accomplish your goals. It is challenging to incorporate them on the day of the shoot. We might not have the time or materials to make it happen, and it can throw off the shoot schedule and interfere with our ability to create the shots on the need list.
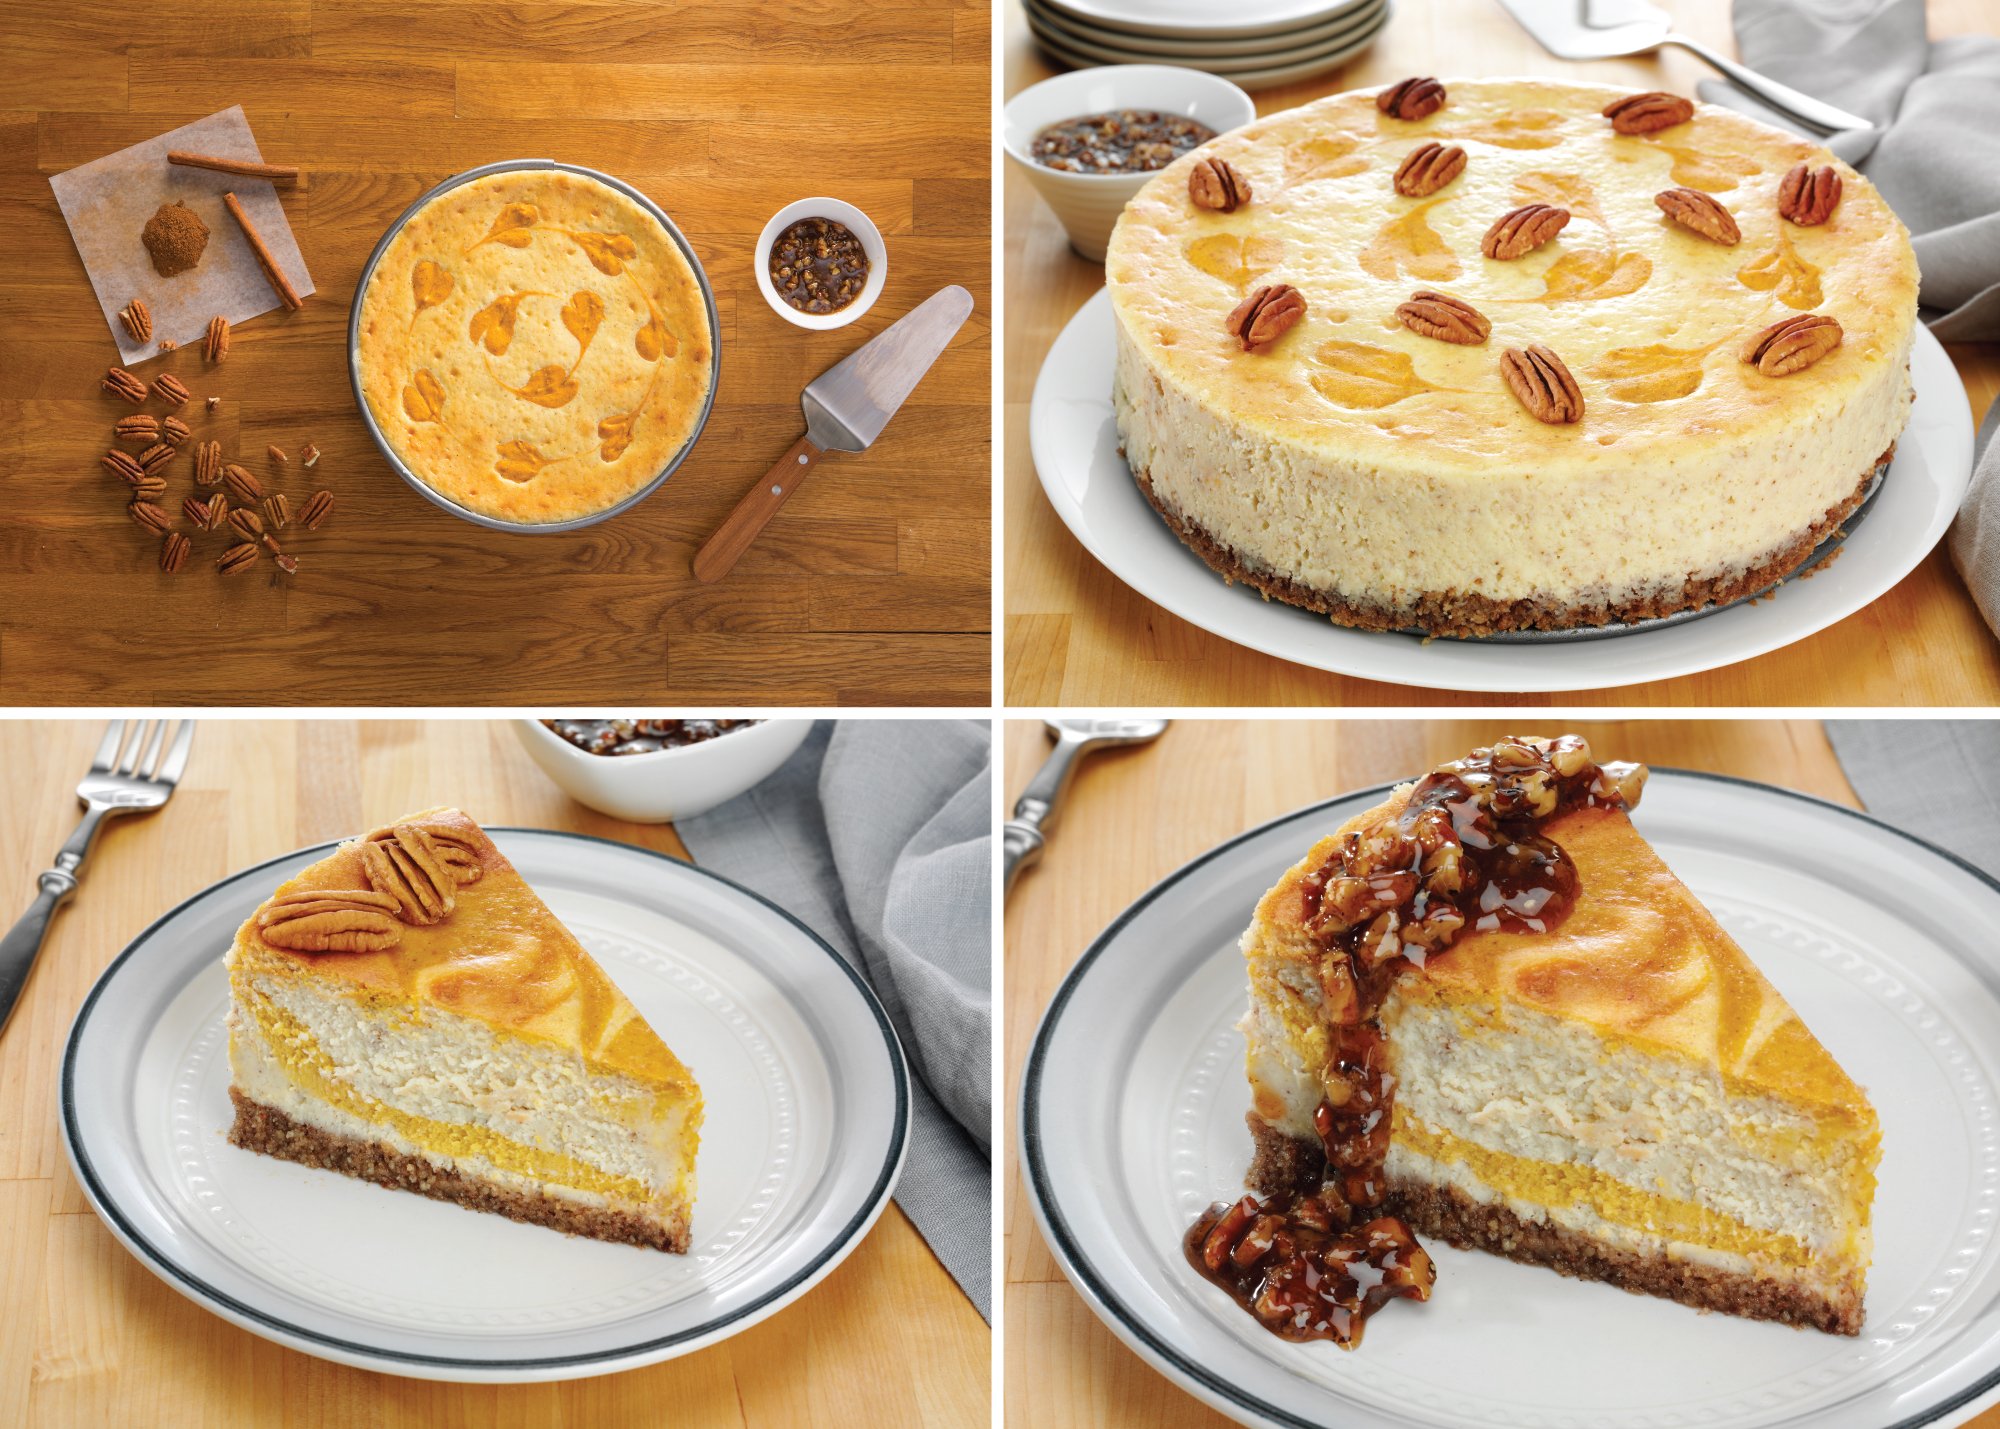
Gather recipes.
At this point, we ask clients to share the recipes they’d like us to use on shoot day. If recipes need to be created, we can connect you with recipe developers who provide that service.
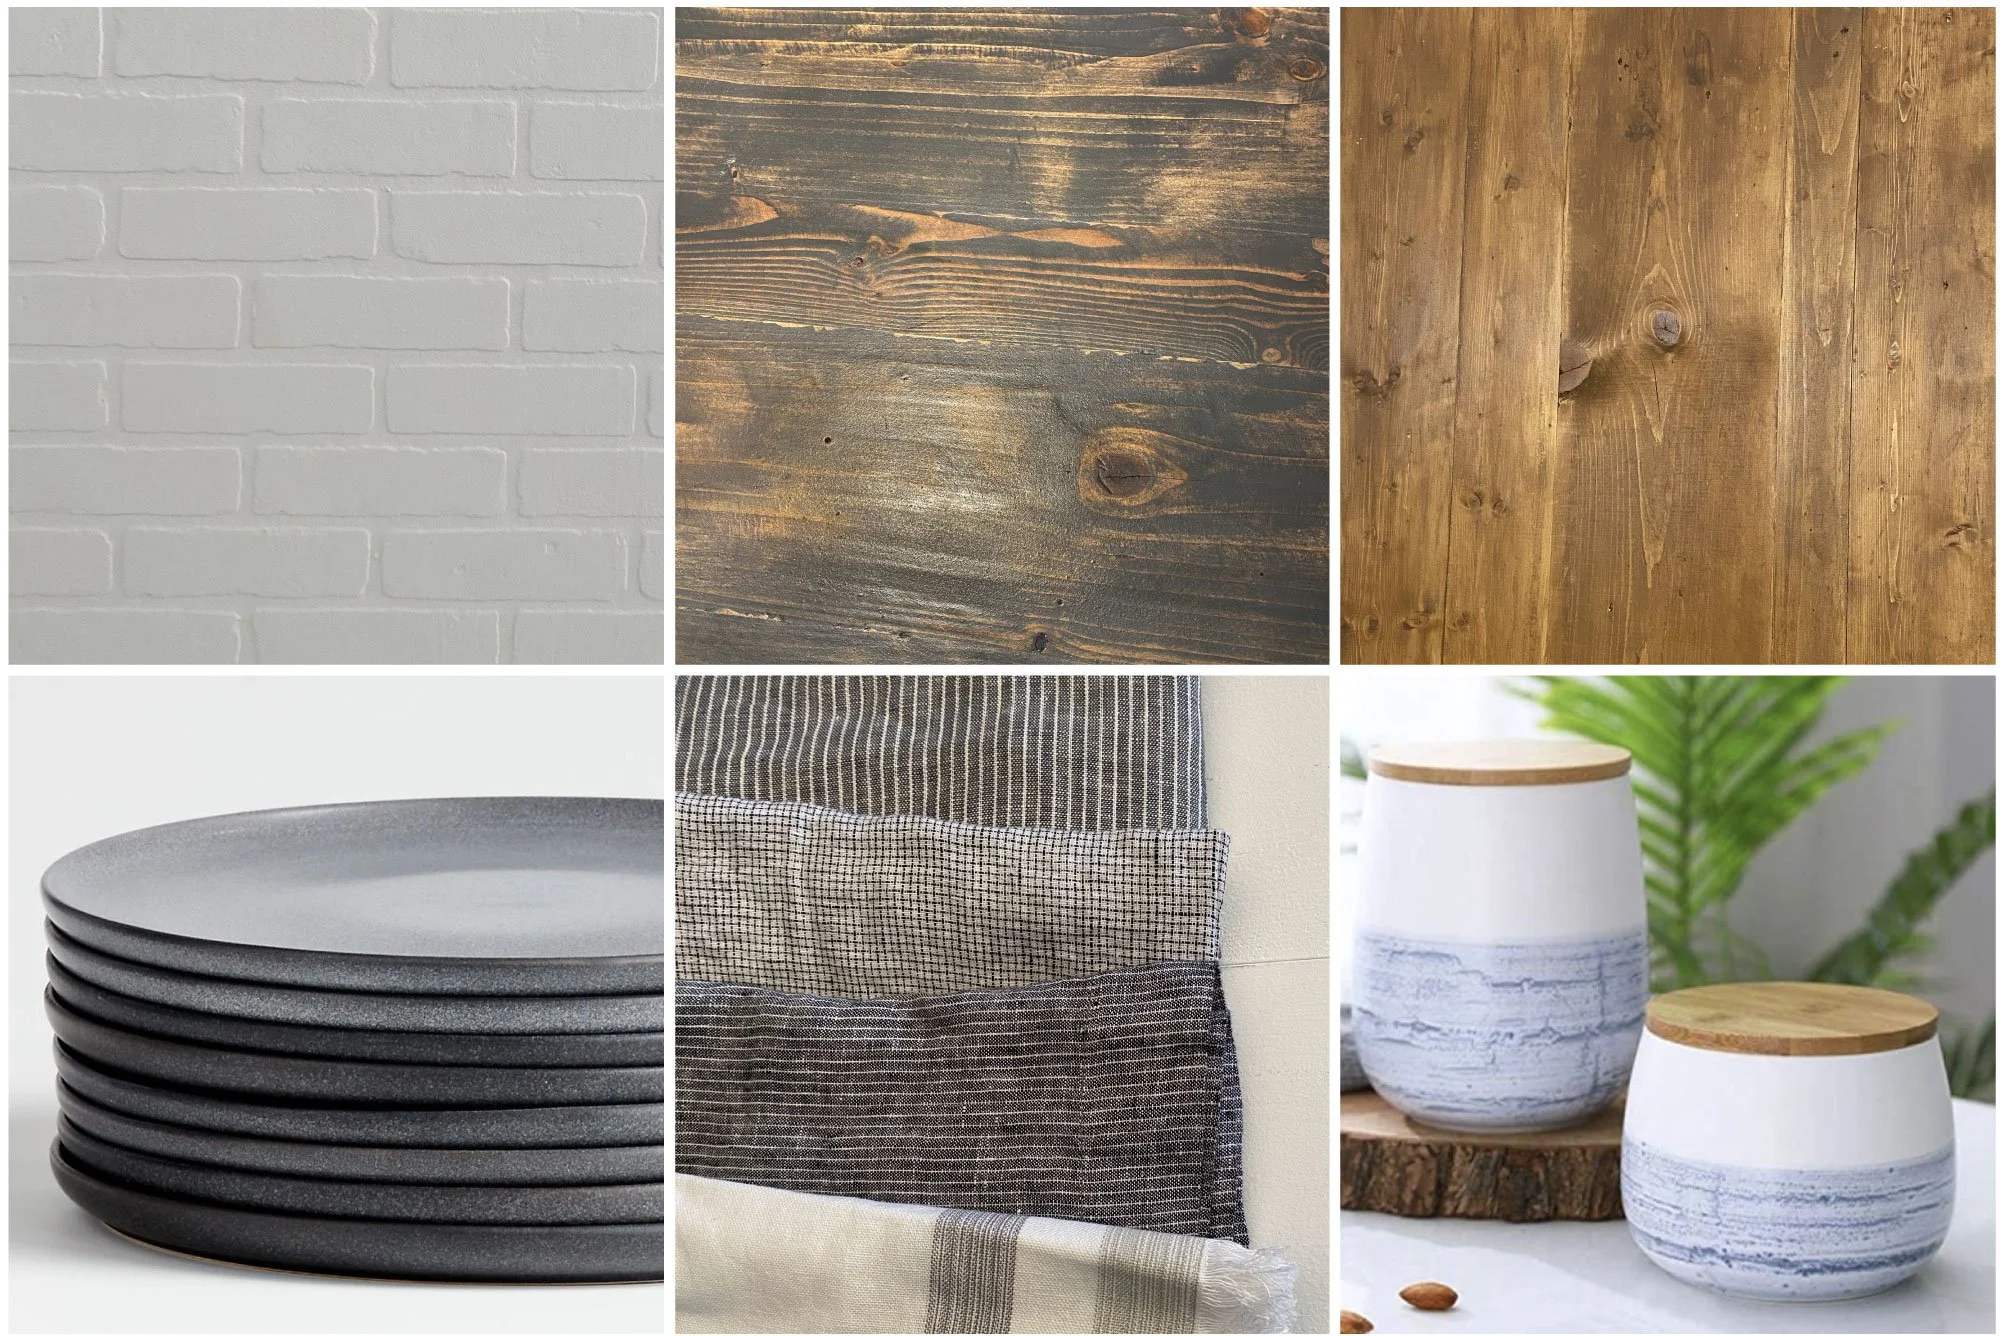
Decide key details about the shoot setting.
How do you want the environment around your subject to look? Say you’re imagining a window and curtains in the background, with light streaming in. Will we shoot in front of a print of the desired scene, or build a new set to spec?
Here we’ll also discuss props, surfaces, and backgrounds. Will we shoot on a marble surface or a wood one? Will there be a pitcher of lemonade or basket of buns in the background to complete the scene? Having a grocery list ahead of time for all prop food saves time.
Share “go-bys” (or “don’t go-bys”).
Often clients have seen styles of images or videos that they want to emulate — or avoid entirely. If you know what you definitely want (or definitely don’t) we’ll ask for examples to go by at this time.
Book talent if needed.
The human element (even just a hand model) can make the message of your photo or video stronger. Consider whether you’d like adults or kids depicted. Involving talent can reduce the shot list we can accomplish in a day, but it offers a huge impact.
2 Weeks to Shoot Day
Gather props for approval.
The prop stylist sends a selection of backgrounds and props for client approval. You can expect individual photos of each element for signoff. Can’t decide? No worries. We can make recommendations, or have a main choice and an alternate to try on shoot day. We have a well-stocked prop room and can pull alternate pieces easily.
Build sets and order furniture (if applicable).
Two weeks out from the shoot, we begin ordering any furniture and creating the set. We need to get materials, build the set, and paint the set walls.

1 Week to Shoot Day
Obtain final approval of sets and props.
About a week out from shoot day, we’ll finalize any last-minute prop and set changes with the client.
Share recipes and shot list with food stylist.
Based on the recipes and planned shot list, we discuss a shopping list of what the stylist will bring to the studio on shoot day.
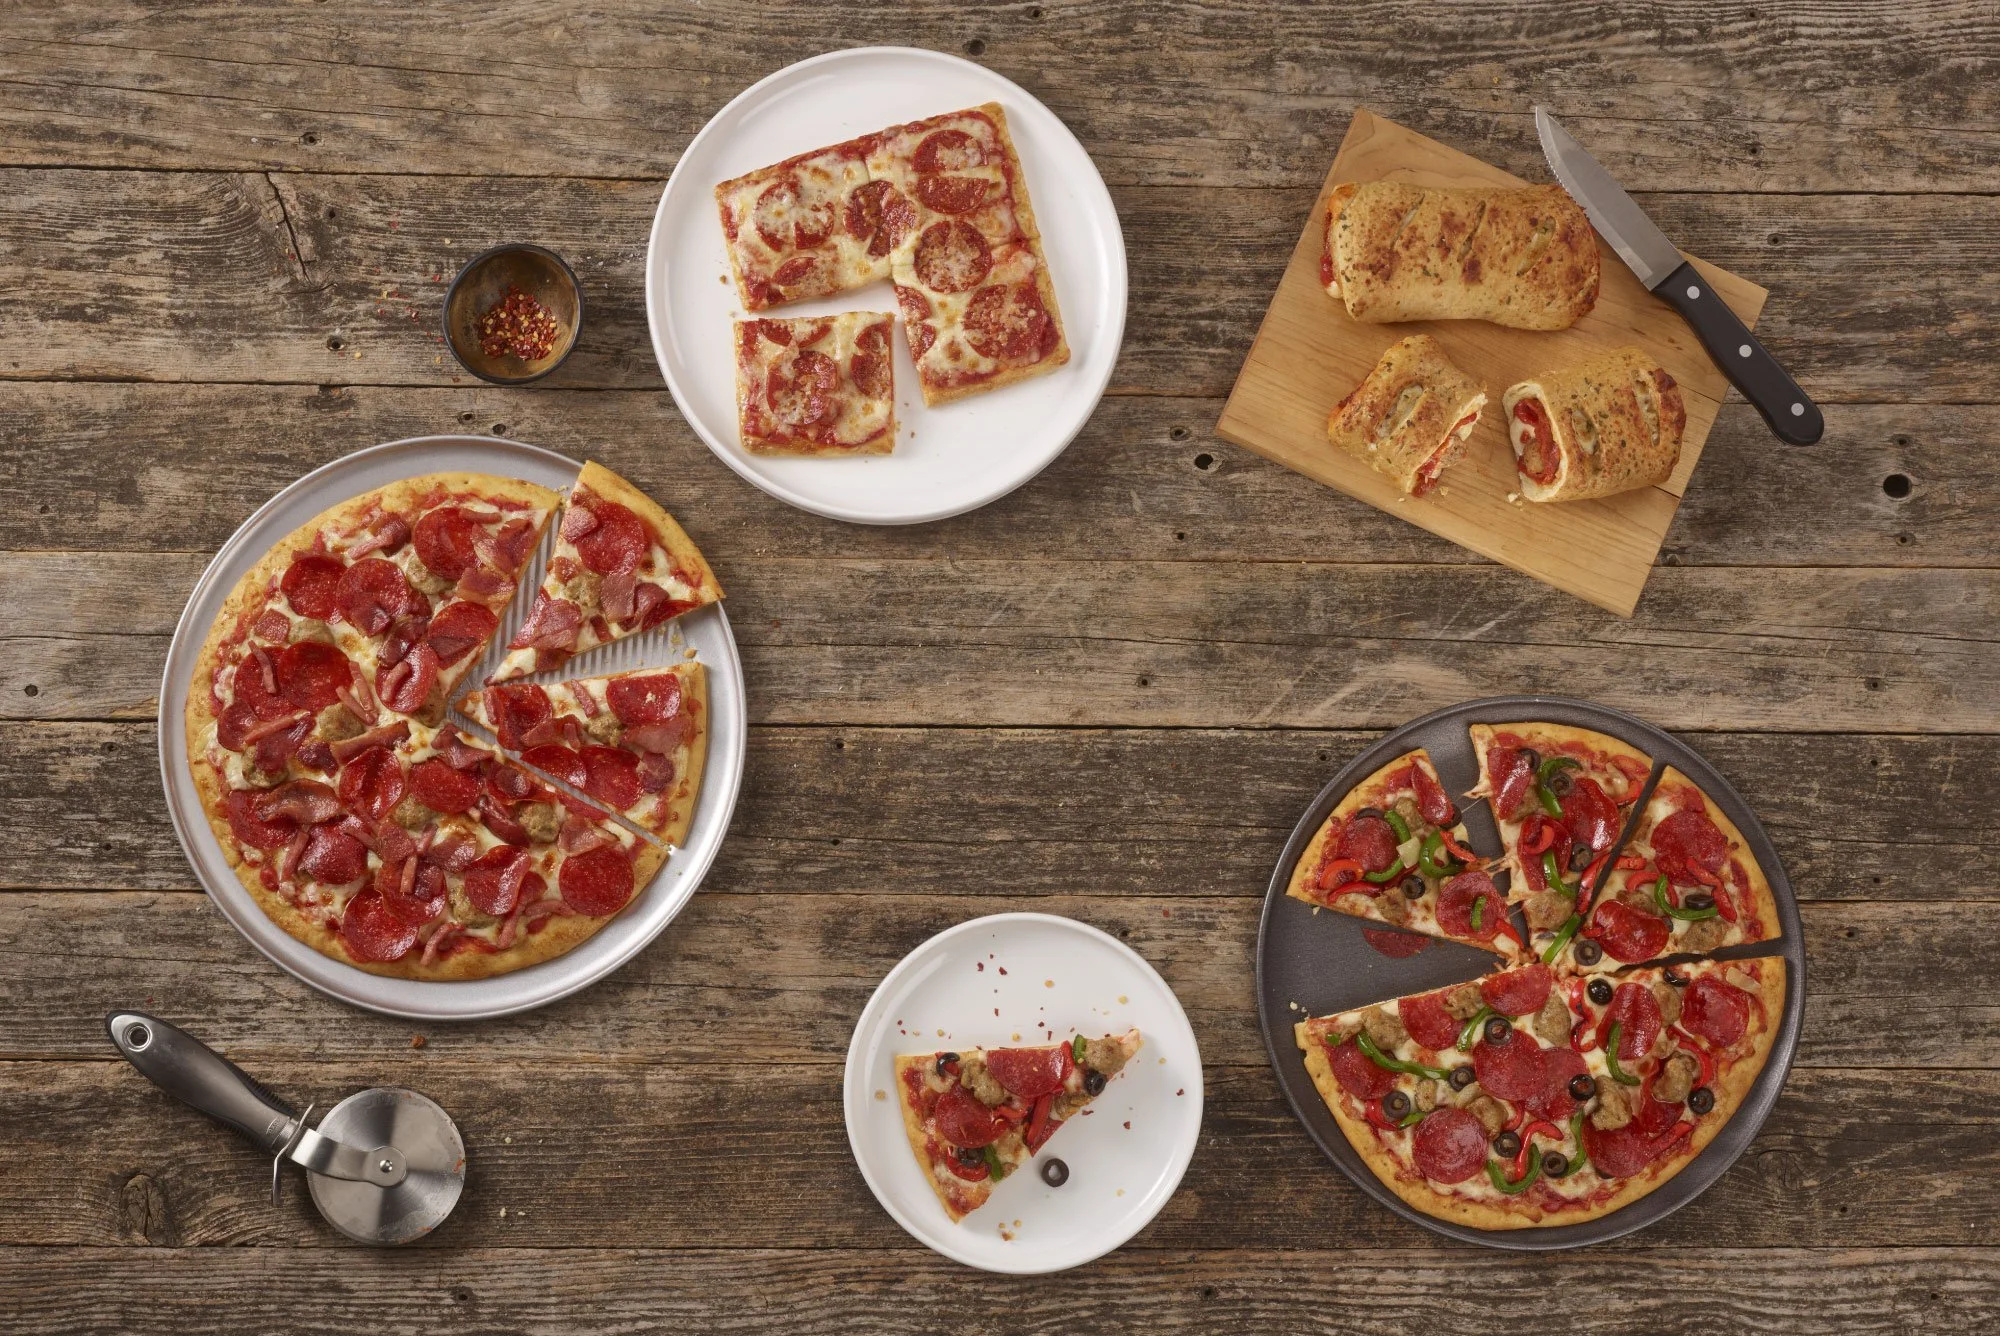
Discuss delivery dates and delivery method of food items.
For food photo shoots, it’s essential that the food product and packaging arrives in excellent condition. Consider these elements:
Delivery method. Sometimes, the food stylist will purchase the product and bring it the day of. (For baked items, we usually build in a half-day pre-bake for the food stylist to bake the items in her kitchen.) Other times, the client will ship us their product ahead of time or bring it the day of the shoot (for example, if it’s a new product that’s not yet available in stores).
Shipping temperature. Typically we receive refrigerated items shipped frozen or refrigerated. Shelf-stable products, such as granola, can be shipped without refrigeration.
Photo-ready packaging. If we’re shooting packaging, we also ask for flat, not-yet-constructed “hero” boxes. We’ll reconstruct them ourselves for the shoot. Off-the-shelf packaging is often marred when it comes off the conveyor belt or wet because it’s defrosting. If we’re shooting beverages in their packaging, the bottles need to be pristine with labels perfectly straight.
1-2 Days to Shoot Day
Assemble sets.
It’s time to bring everything together! Here we assemble the sets, laying out props and extra items to swap on set if needed. These extra items are for the unexpected changes, like the plates the client loved in the planning stages but that are too small for the stylist to work with.
Provide menu options to client.
We also always make time for meals and snacks for the clients and crew. Working on food shoots while hungry is the worst, and food that is healthy and filling will keep everyone comfortable and productive on shoot day.
Planning meals ahead of time is crucial to ensure that the food is delivered on time, especially on busy days.
Gather equipment and do “prelight” if needed.
Now is the time we charge the cameras and video equipment that we’ll use on shoot day.
Sometimes we also do a “prelight” when there are elaborate sets or complex shoots planned. Prelighting involves setting up the equipment and lighting for a given shot before shoot day instead of the day of. This step can save up to an hour on shoot day, and is helpful to expedite very busy days.

Photo Shoot Day!
Crew arrives.
It’s finally here — shoot day! Stylists typically arrive in the morning around 8:30 a.m. to unpack their tools and groceries and get set up for the day.
Client arrives.
We usually ask clients to arrive on set around 9 a.m.
Discuss any last-minute changes.
We have a quick chat about any needed changes to the plan for the day. These changes are mostly small requests from the stylist, such as changing the shot order to adjust for product-specific logistics.
Then it’s off we go!
Final Thoughts on How to Prepare for a Photoshoot
As you can see, food photo shoots are much more than just taking the picture. They require lots of planning and organization to bring an idea to the plate.
As we always say, “Failing to plan is planning to fail.” Pinpointing the details — both in front of and behind the camera — are what makes food photos come to life.